|
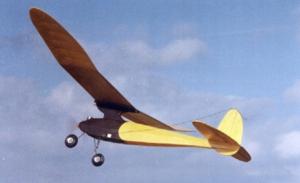
Building & Flying Micro & Mini Antique & Old Timer Models |
Small Old Timers |
|
SmallOldTimers.com |
|
|
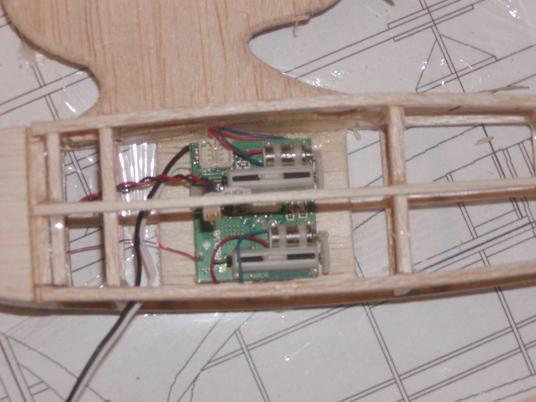
Session #2 May 30, 2010 Well it is a holiday weekend so I am off work and have a little time to further the build and a few other projects I am working on for the 2010 SAM Champs in September. Continuing.... In the last session I showed you the framed up fuselage and wing. How we will go on with the build. I am using the little Spektrum 2.4 6400L brick radio, which has the receiver, the ESC and two servos all built into one little brick module. The "L" denotes long throw servos. It is the same price as the standard throw version so I figured what the heck. I may need a little more throw...who knows Here you see the little brick laid on a piece of balsa I glued into the side of the fuselage. I will attach it with a piece of servo tape as there are no mounting holes, etc., on the unit..
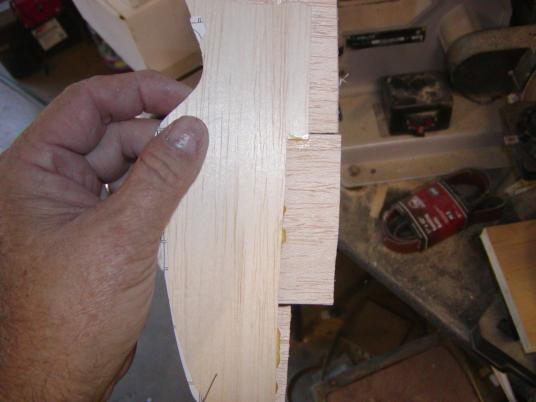
With the fuselage and wing roughed in i decided to start on the "tail feathers". I am not fond of building with very thin wood as I have a hard time handling it so when I saw that the trailing edge was thicker than 1X16"on the plans I decided to laminate some wood to build it out of. I took a piece of soft 1X16" balsa and glued a few pieces of some 1X32" crossgrain onto it. Here is the piece I eventually cut the trailing edge out of so you can see what I am talking about.
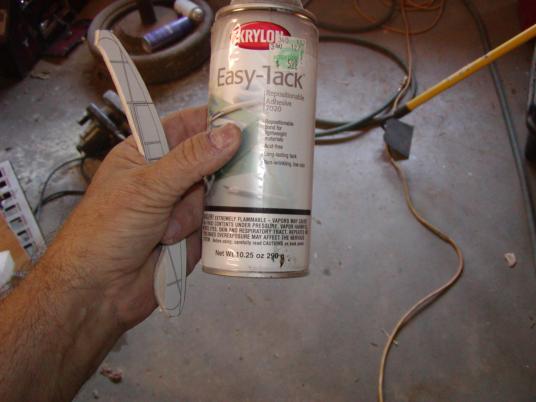
I took "Easy Tack" TM, a contact cement that allows you to pull off your pattern without it sticking to the wood and making a mess, and tacked the pattern to the lamination.
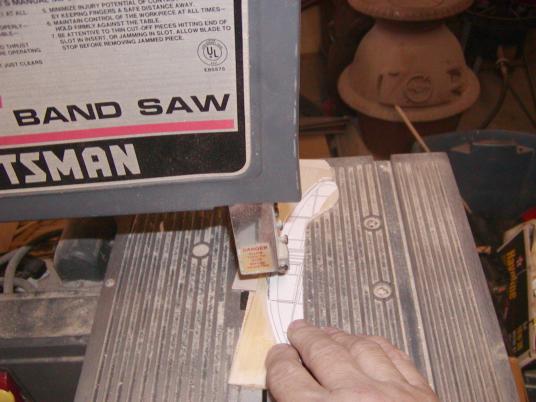
After tacking on the pattern, I took the wood to the bandsaw and proceeded to cut out the trailing edge.
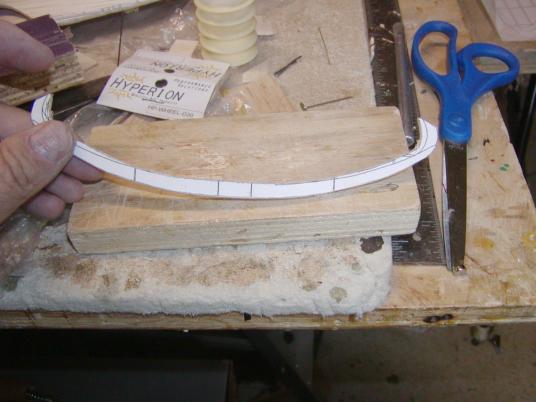
Here is the piece roughly cut out. I always take sandpaper and sand it exactly to the outline in the pattern before removing the paper template.
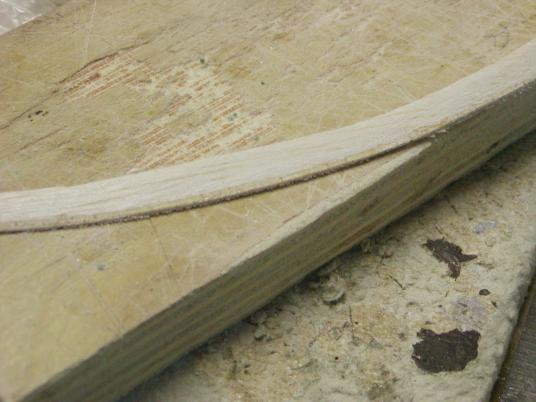
After sanding to shape, I removed the pattern and sanded it to the shape of a trailing edge. I held it against a wood block while sanding to prevent breaking the piece. Once tapered to shape, you can see the 1X32" wood starting to show at the thinnest part of the trailing edge.
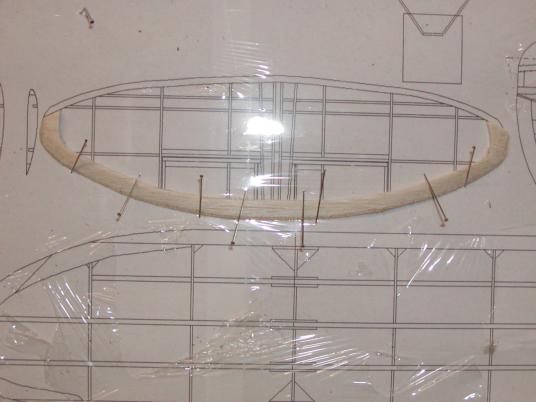
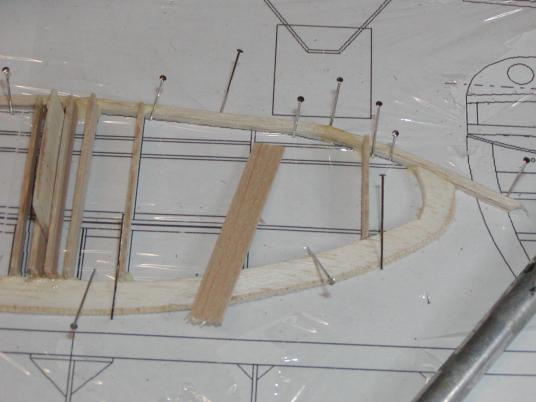
Next I pinned it down to the plans, being careful not to pin through any wood to preclude breaking the piece.
I next added the leading edge (a piece of 3X32" square stock) and then put in the ribs one by one. You will notice that I made the ribs from stiff 1X32" balsa and did not cut them to shape. I will go back with a sanding block after they are all glued in and sand them to the shape of the correct airfoil, and then notch them for the 1X16" square spars. Notice I put in a balsa spacer in between the two center ribs. This is to allow the rudder/fin to drop into the slot in the stab.
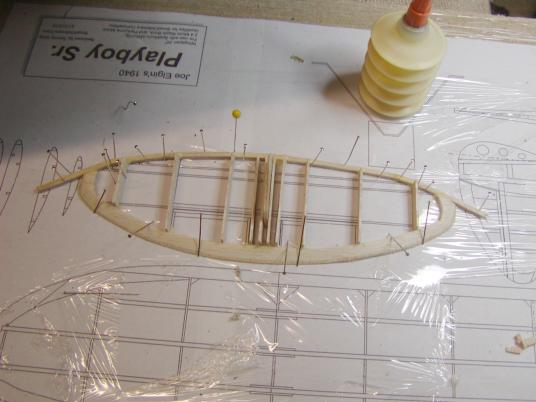
Here is a picture of the entire stab roughed in. In a later session, I will cut out the elevators, and shape the stab to its final shape, and add the spars.
More to come... Click Here for the Next Session.. Or click at the top of the page for the main menu. | |||||||||||||||||||||
|